Layer 3 (CloudRouter®) – general help
Our Layer 3 connectivity solution, CloudRouter®, enables you to build secure, virtual networks between your different endpoints.
With Console Connect’s CloudRouter® you can instantly connect any cloud to any cloud, or any cloud to any location whether that’s a SaaS application, IoT device or more – all without the need for any dedicated hardware.
CloudRouter® setup
How to set up CloudRouter®
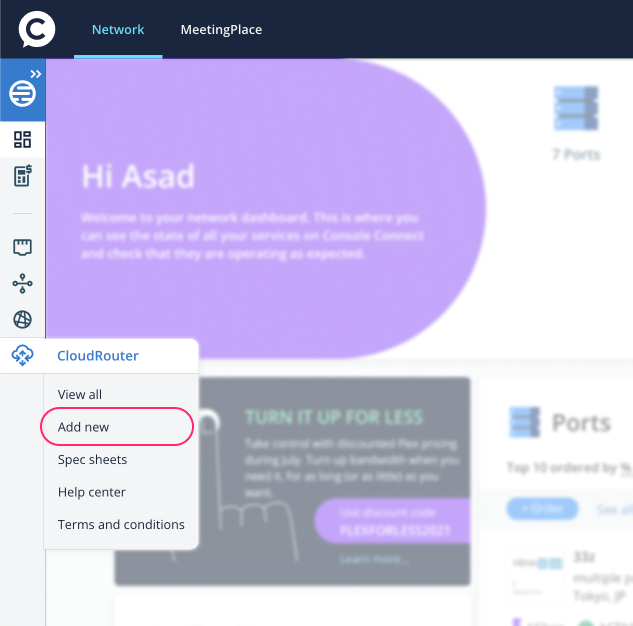
Navigate to CloudRouter®
- Select Network from the top navigation menu.
- Click the CloudRouter® icon in the left menu.
- Click Add new to create a new CloudRouter®.
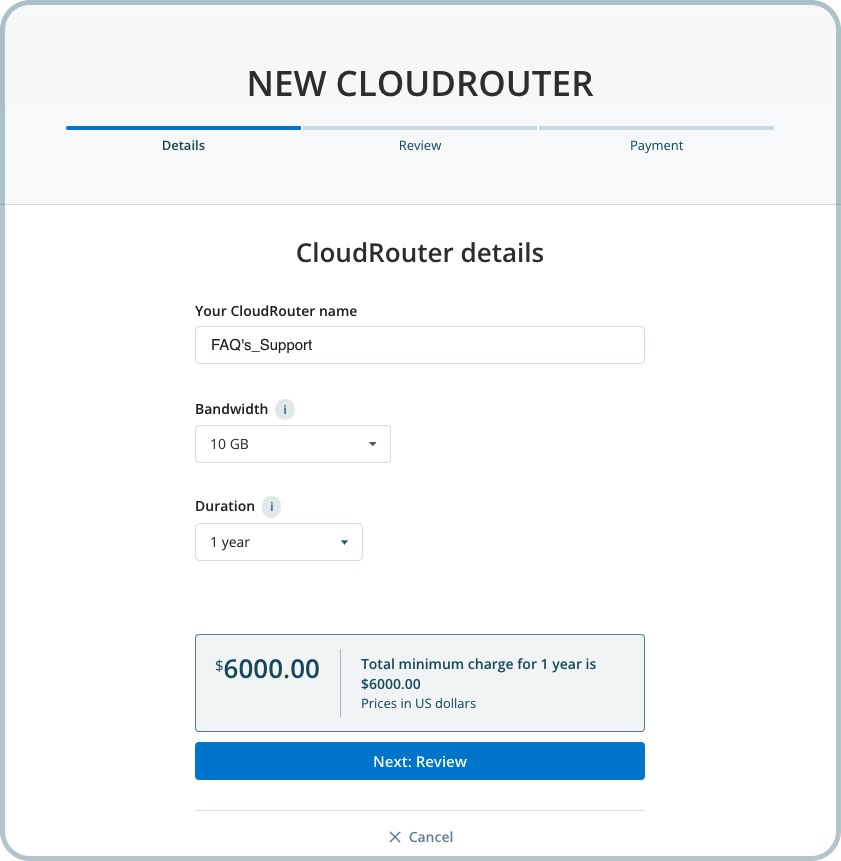
On the New CloudRouter® details screen
- Enter a name for the CloudRouter® that will be easy for you to identify.
- Select bandwidth: you can click on the plus/minus buttons or type an amount.
- Select a duration from the dropdown list.
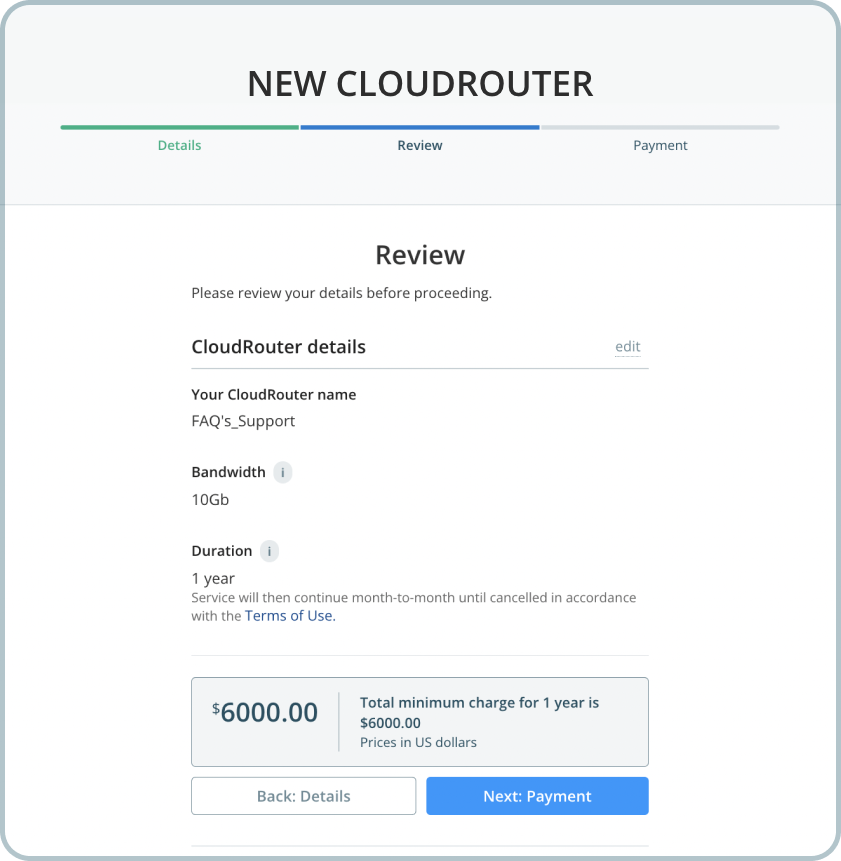
On the New CloudRouter® review screen
- Review the details you’ve entered.
- Review the pricing information.
- Click the Next: Payment button.
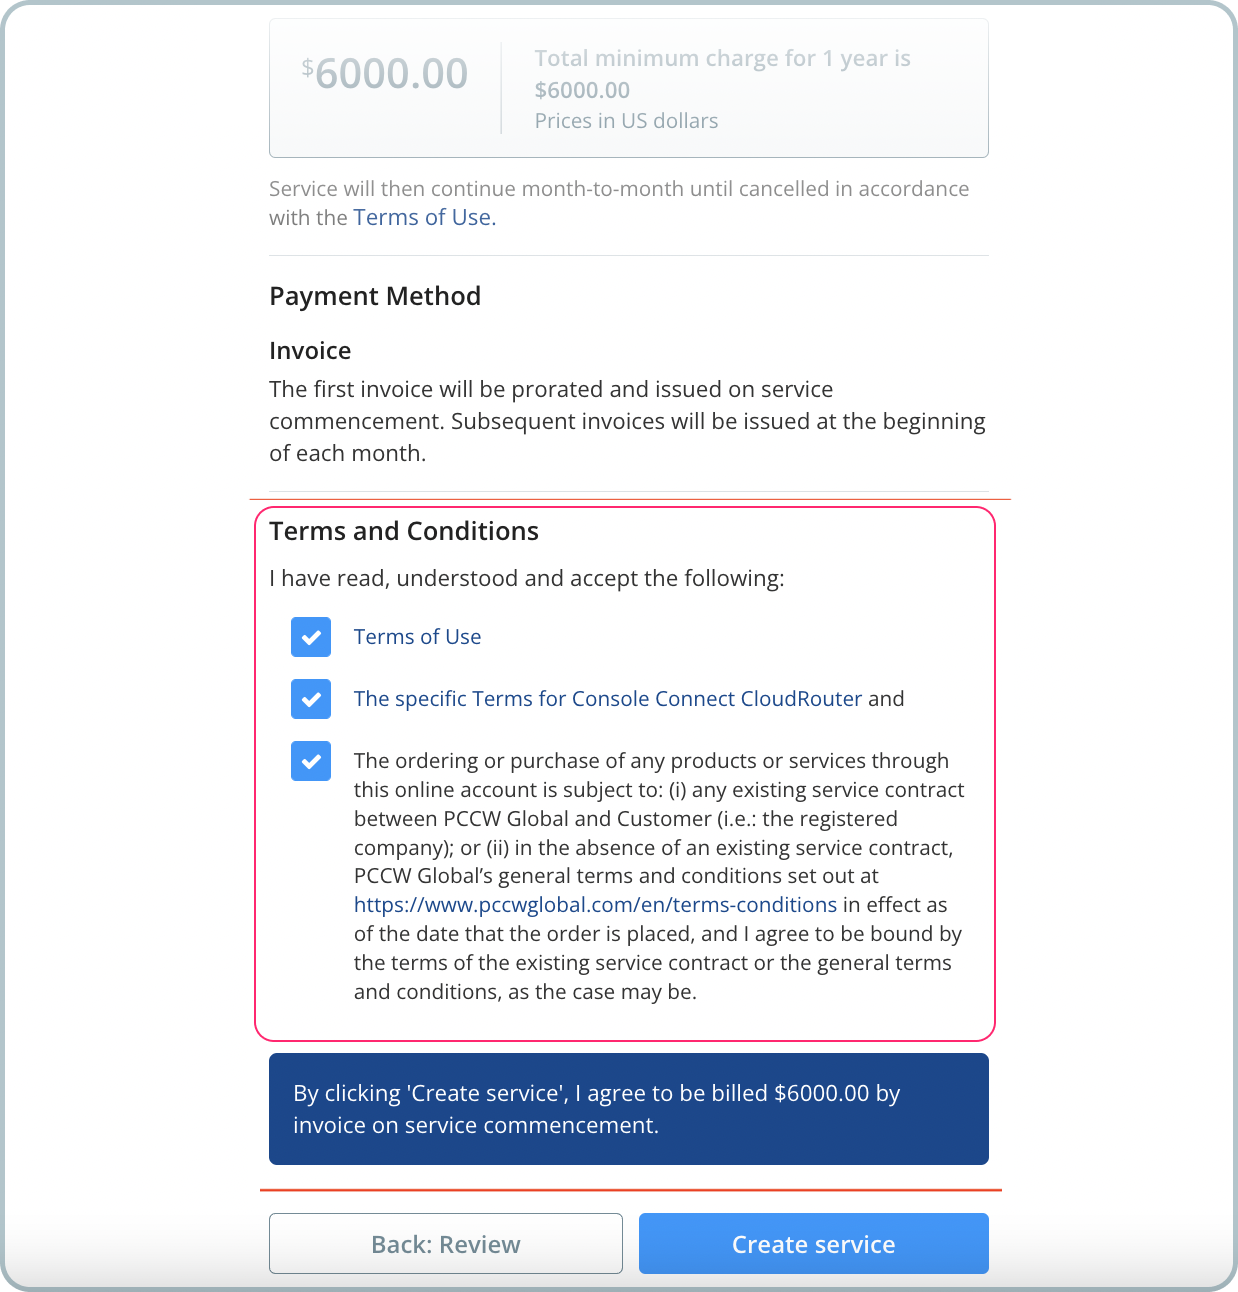
On the New CloudRouter® payment screen
- Read and accept the terms and conditions.
- Click the Create service button.
Managing CloudRouter® sites
How do I add a site to my CloudRouter®?
Navigate to CloudRouter®
- Select Network from the main navigation.
- Select the CloudRouter® icon from the left menu.
- In the CloudRouter® menu, click View all to see all your CloudRouter® sites.
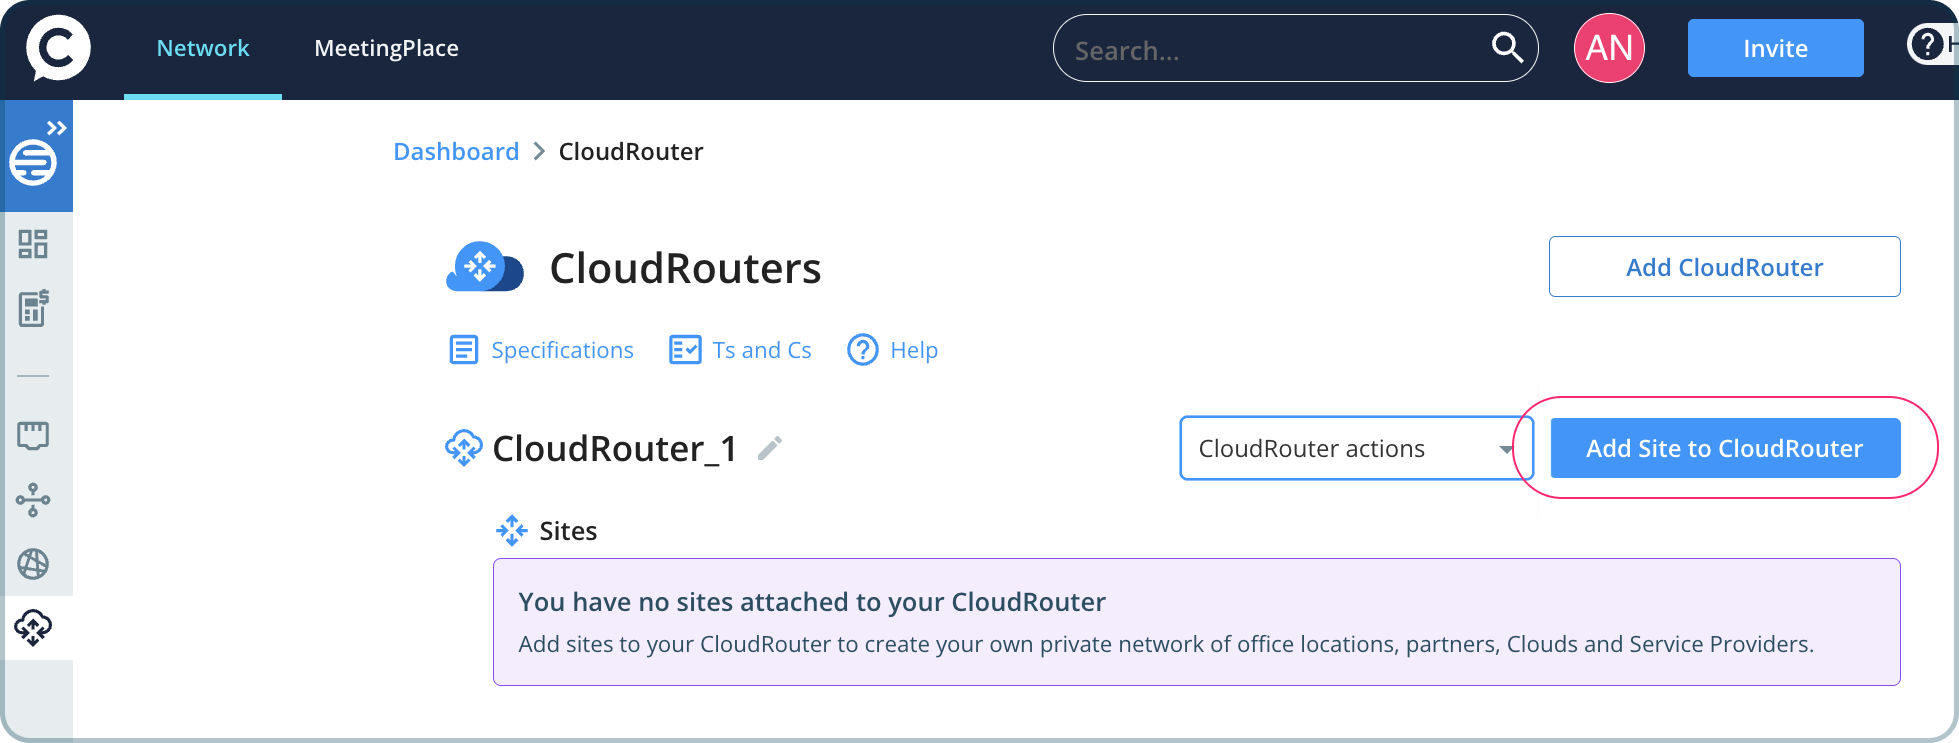
On the CloudRouter® list screen
- Scroll to the CloudRouter® to which you want to add a site.
- Click the Add site to CloudRouter® button.
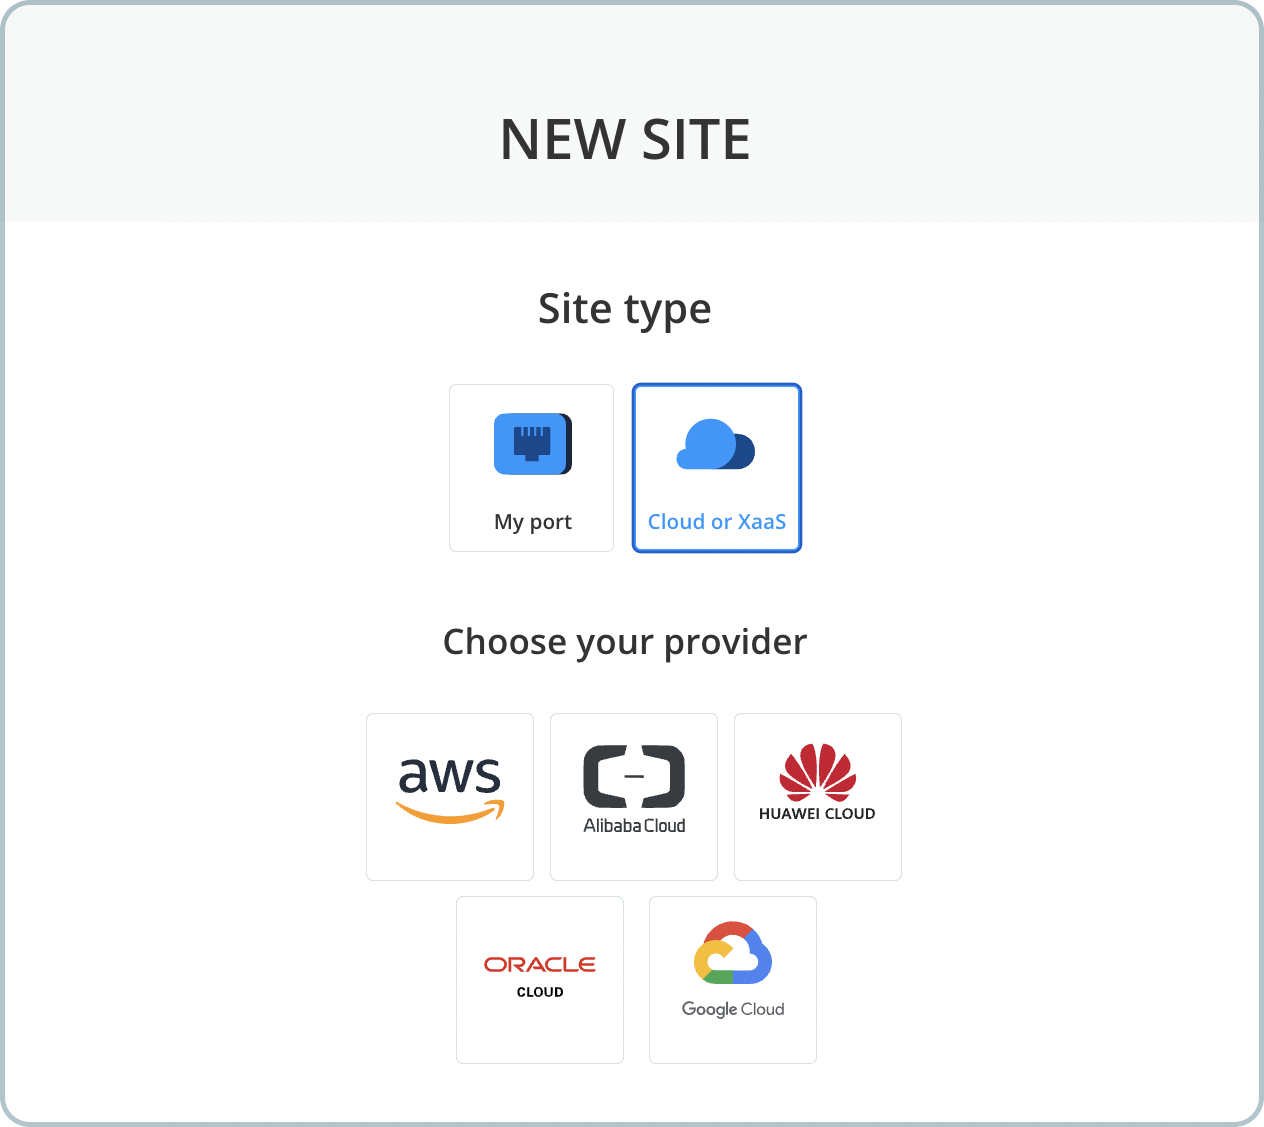
On the New site: Site type screen
- Select the Cloud or XaaS tile.
- Choose your cloud provider from the list.
On the New site: Cloud details screen
- Enter your cloud provider details.
- Click the Next button.
On the New site: Site details screen
- Enter a site name.
- Select required bandwidth.
- Choose the required class of service.
- Click the Next: Review button.

On the New site: review screen
- Review the information you have entered and the pricing information.
- Click the Next: Terms button to continue.
On the New site: terms screen
- Read and accept the terms and conditions.
- Click the Create site button.
You will be directed to the site page where you can view the sites on your CloudRouter®.
How do I delete a site from my CloudRouter®?
Navigate to CloudRouter®
- Select Network from the main navigation.
- Select the CloudRouter® icon from the left menu.
- In the CloudRouter® menu, click “View All”.
On the CloudRouter® list screen
- Scroll to the CloudRouter®and site that you want to delete.
On the CloudRouter® site screen
- Click on the CloudRouter® Site actions dropdown and select the Delete site option.
You will be directed to the CloudRouter® screen where you will see the site with a status of “Deleting”. It may take a few minutes for the site to be deleted.
You can connect to these cloud providers on CloudRouter®:
- Alibaba Cloud
- Amazon AWS
- Google Cloud
- Huawei Cloud
- Oracle Cloud
Alibaba Cloud: how to connect
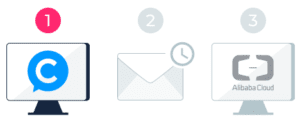
There are three steps to creating an Alibaba Cloud site
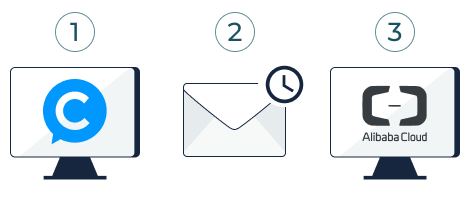
- You create your site on Console Connect.
- We provision the Virtual Border Router.
- You accept and configure the Direct Connect on the Alibaba Cloud Console.
On Console Connect
On the CloudRouter® list screen
- Scroll to the CloudRouter® to which you want to add a site.
- Click the Add site to CloudRouter® button.
On the New site: Site type screen
- Select the Cloud or XaaS tile.
- Choose Alibaba.
On the New site: Provider details screen
- Enter your Alibaba Account ID.
- Select your preferred Alibaba Region.
- Click the Next button.
On the New site: Site details screen
- Enter a site name.
- Select required bandwidth.
- Choose the required class of service.
- Click the Next button.
On the New site: review screen
- Review the information you have entered and the pricing information.
- Click the Next button to continue.
On the New site: terms screen
- Read and accept the terms and conditions.
- Click the Create site button.
Virtual Border Router provisioning. Check your email…
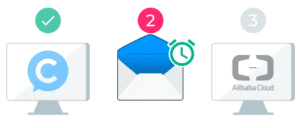
- The Console Connect support team will provision a Virtual Border Router for your Alibaba account.
- When this is complete, your Alibaba Cloud site will become Active.
- You will also receive an email from [email protected] with the subject “Your site config” containing the routing configuration details.
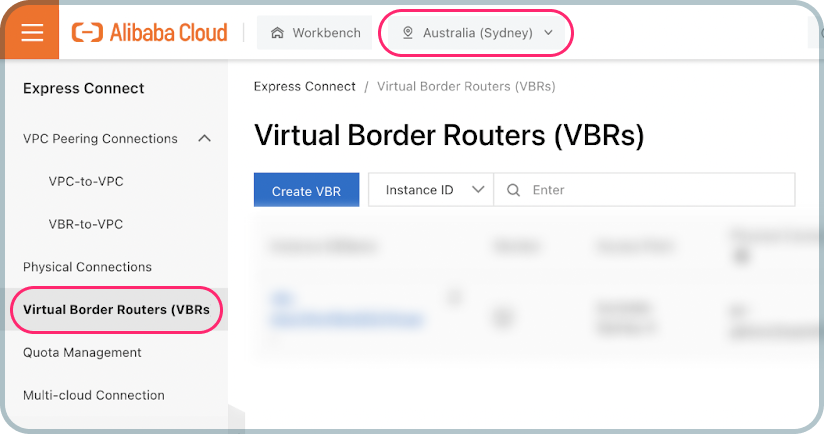
On the Alibaba Cloud Console:
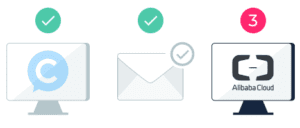
Accept the Direct Connect
- Navigate to Express Connect > Virtual Border Routers.
- Ensure the region matches the region you selected on your Console Connect site order.
- Click Accept in the Actions column of your Virtual Border Router to accept your new Direct Connect request.
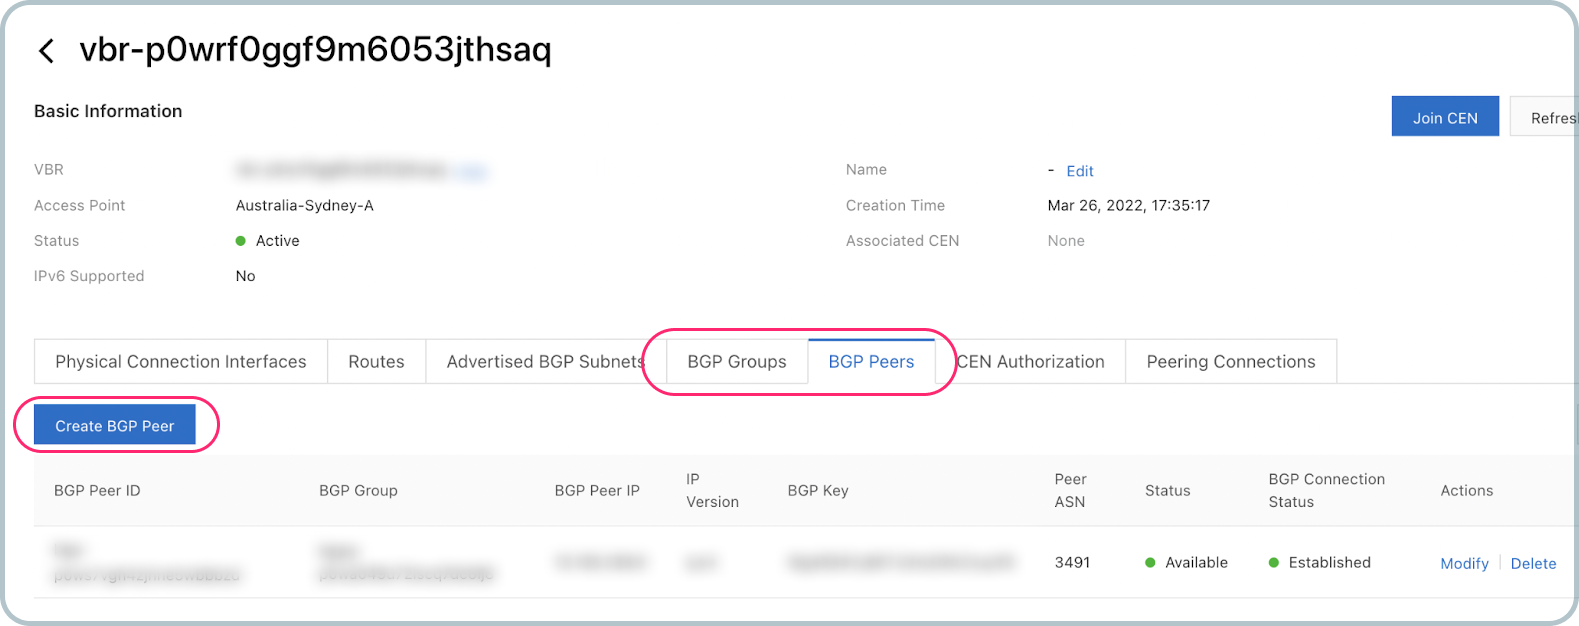
Configure BGP
- Click the Edit link in the Actions column of your Virtual Border Router.
- Click the BGP groups tab.
- Click the Create BGP group button.
- Click the BGP peers tab.
- Click the Create BGP peer button.
- Enter the details required to create a BGP peer. You can find this information on the site details screen on Console Connect. You should have also received it in an email.
AWS: how to connect
There are two steps to creating an AWS site
- Create your site on Console Connect.
- Accept and configure the Direct Connect on the AWS Management Console.
On Console Connect
On the CloudRouter® list screen
- Scroll to the CloudRouter® to which you want to add a site.
- Click the Add site to CloudRouter® button.
On the New site: Site type screen
- Select the Cloud or XaaS tile.
- Choose AWS.
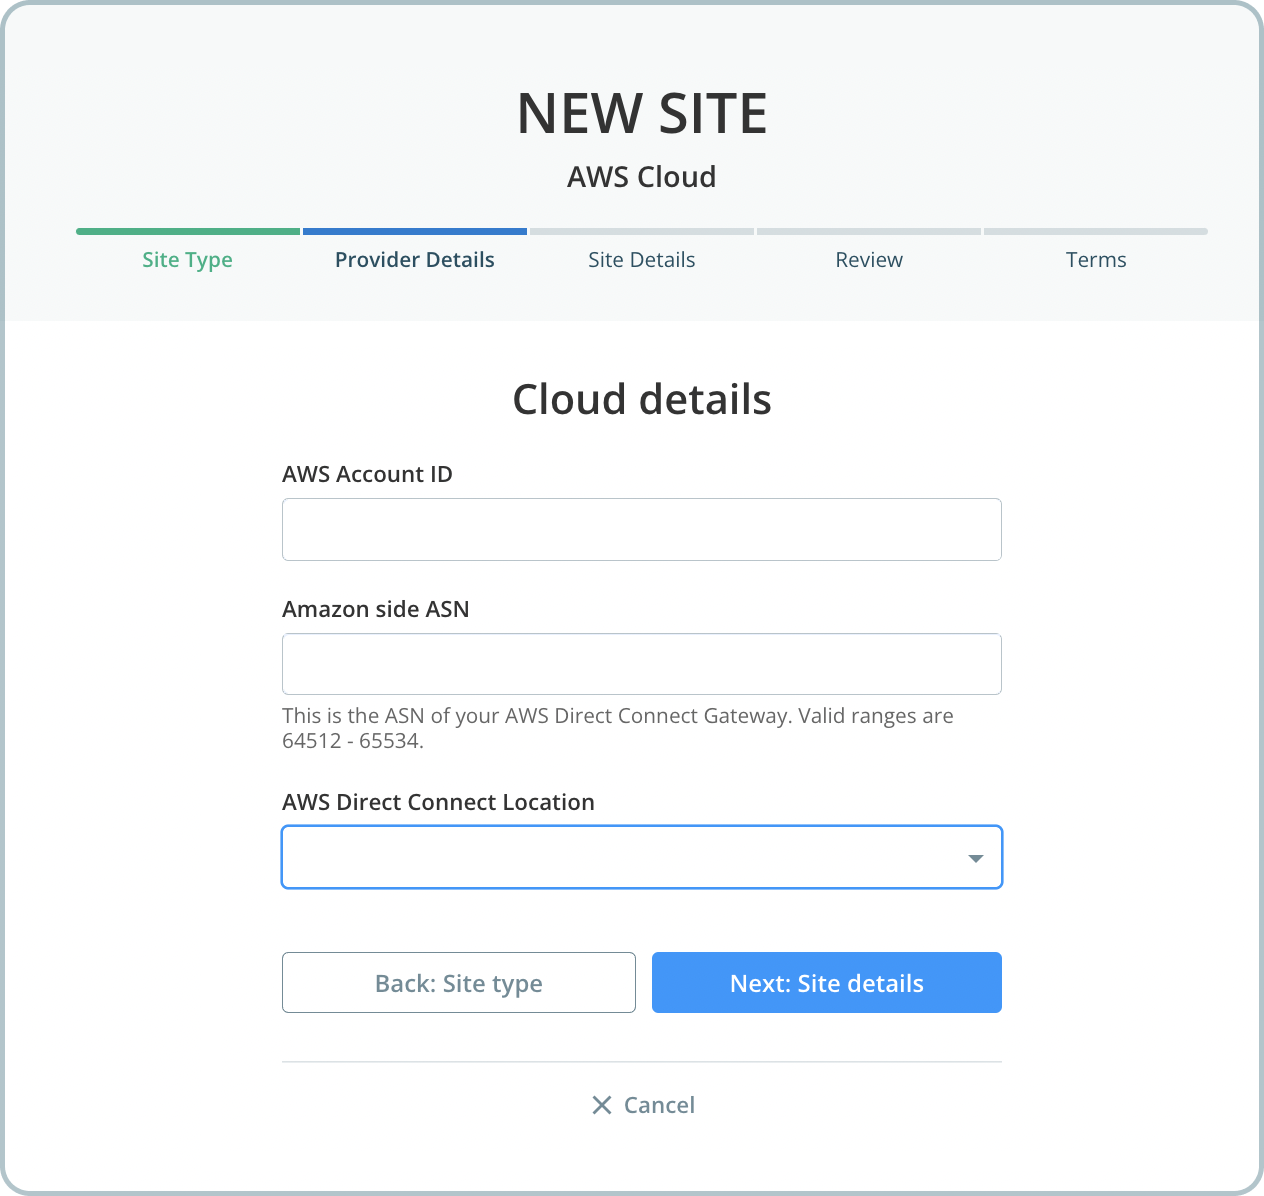
On the New site: Provider details screen
- Enter your AWS Account ID and AWS ASN.
- Select your preferred AWS Direct Connect location.
- Click the Next button.
On the New site: Site details screen
- Enter a site name.
- Select required bandwidth.
- Choose the required class of service.
- Click the Next button.
On the New site: review screen
- Review the information you have entered and the pricing information.
- Click the Next button to continue.
On the New site: terms screen
- Read and accept the terms and conditions.
- Click the Create site button.
You will be directed to the site page where you can view the sites on your CloudRouter®.
On the AWS Management Console:
Accept the Direct Connect
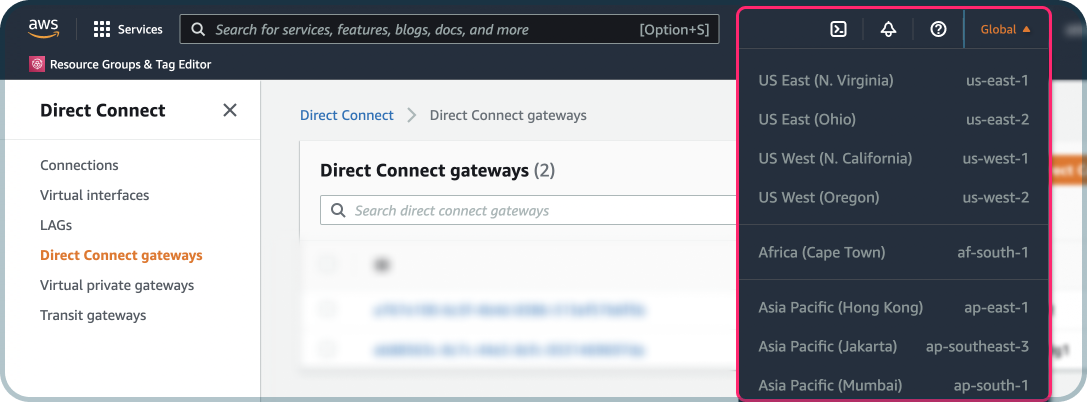
- Click the region dropdown list in the top right corner and select the region in which you created the new site.
- Select and accept your new Direct Connect request.
Create a Virtual Interface (VIF)
![]()
- Click the Create Virtual Interface button in the top right corner.
- Enter the details required to create a VIF. You can find this information on the site details screen on Console Connect. You should have also received it in an email.
- Configure BGP: add a peer and enter the required details.
Google Cloud: how to connect
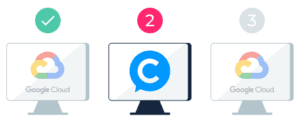
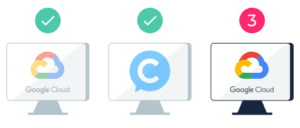
There are three steps to creating a Google Cloud site
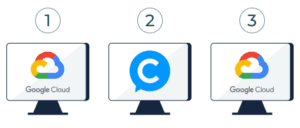
- Create a Partner Interconnect connection on the Google Cloud Platform.
- Create your Google Cloud Site on Console Connect.
- Configure BGP on the Google Cloud Platform.
On Google Cloud Platform:
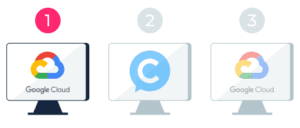
Create a connection
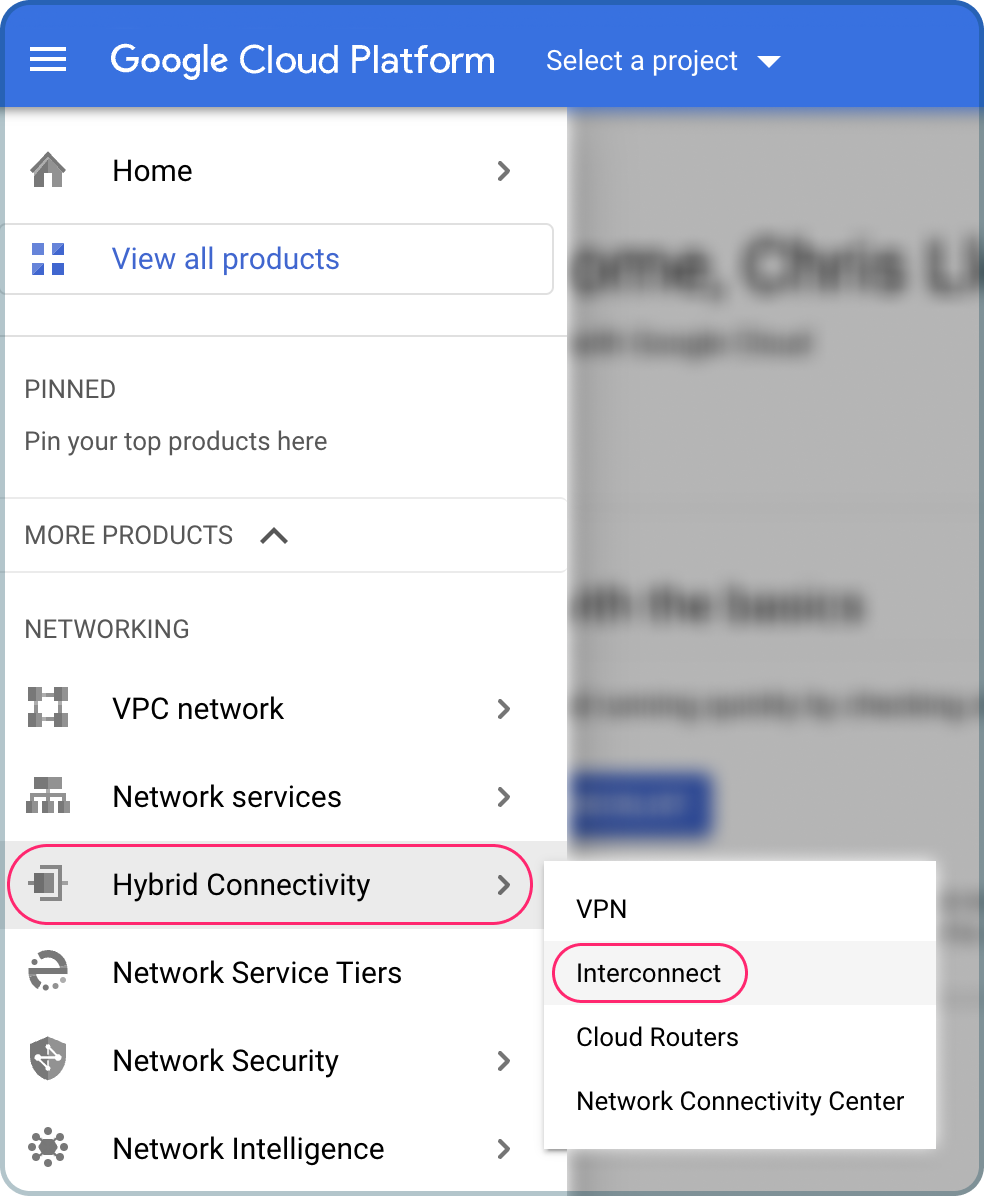
- Navigate to Hybrid connectivity > Interconnect.
- Click Add VLAN Attachment.
On the Add Partner VLAN attachment flow > step 1:
- Select Partner Interconnect connection and click the Continue.
On the Add Partner VLAN attachment flow > step 2:
- From the list of Redundancy options, select Create a single VLAN (no redundancy).
- Select your network.
- Select your region.
- Enter a name for your CloudRouter® .
- Enter a VLAN attachment name.
- Select your Maximum Transmission Unit (MTU).
- Click the Create button.
On the Add Partner VLAN attachment flow > step 3:
- Copy the pairing key.
- Ensure Pre-activate these VLAN attachments is checked/enabled.
- Click the Ok button.
On Console Connect:
On the CloudRouter® list screen
- Scroll to the CloudRouter® to which you want to add a site.
- Click the Add site to CloudRouter® button.
On the New site: Site type screen
- Select the Cloud or XaaS tile.
- Choose Google Cloud.
On the New site: Google Cloud details screen
- Paste the pairing key that you created/copied on Google Cloud Platform.
- Your selected region will display.
- Select your preferred Google Interconnect location.
- Click the Next button.
On the New site: Site details screen
- Enter a site name.
- Select required bandwidth.
- Choose the required class of service.
- Click the Next button.
On the New site: review screen
- Review the information you have entered and the pricing information.
- Click the Next button to continue.
On the New site: terms screen
- Read and accept the terms and conditions.
- Click the Create site button.
You will be directed to the site page where you can view the sites on your CloudRouter®.
On Google Cloud Platform:
Configure BGP
- Navigate to the VLAN attachment that you created earlier.
- Select Configure BGP.
- In the peer ASN field, enter 3491 (Console Connect’s ASN).
- Click the Save and continue button.
Your Google Cloud site will now be active on your CloudRouter®.
Huawei Cloud: how to connect
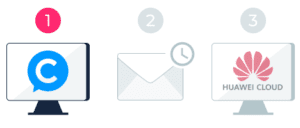
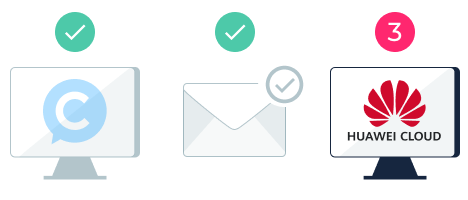
There are three steps to creating a Huawei Cloud site
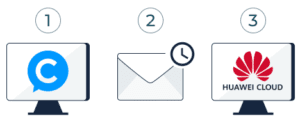
- You create your site on Console Connect.
- We provision the Huawei Hosted Direct Connect.
- You create the Virtual Interface and configure BGP on the Huawei Cloud Console.
On Console Connect
On the CloudRouter® list screen
- Scroll to the CloudRouter® to which you want to add a site.
- Click the Add site to CloudRouter® button.
On the New site: Site type screen
- Select the Cloud or XaaS tile.
- Choose Huawei.
On the New site: Provider details screen
- Enter your Huawei Project ID (find this on your Huawei Cloud Console).
- Enter the Huawei ASN 64512.
- Select the Huawei Cloud region.
- Click the Next button.
On the New site: Site details screen
- Enter a site name.
- Select required bandwidth.
- Choose the required class of service.
- Click the Next button.
On the New site: review screen
- Review the information you have entered and the pricing information.
- Click the Next button to continue.
On the New site: terms screen
- Read and accept the terms and conditions.
- Click the Create site button.
Huawei Hosted Direct Connect provisioning. Check your email…
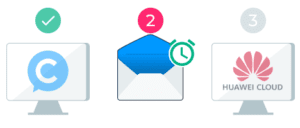
- The Console Connect support team will provision the Huawei Hosted Direct Connect.
- When this is complete, your site will become active.
- You will also receive an email from [email protected] with the subject “Your site config” containing the routing configuration details.
On the Huawei Cloud Console
Create Virtual Interface and configure BGP
- Click the location icon and select the relevant region and project.
- Navigate to the Service list and choose Networking > Direct Connect.
- Navigate to Virtual Interfaces.
- Click Create Virtual Interface.
- Enter the details required. You can find this information on the site details screen on Console Connect. You should have also received it in an email.
- Click the Create now button.
For more information, please refer to the step-by-step guide on Huawei Cloud Help Centre.
Oracle Cloud: how to connect
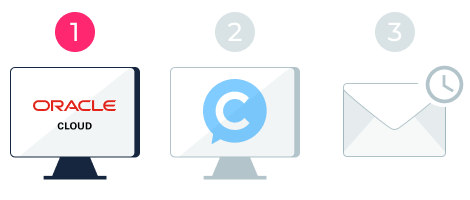
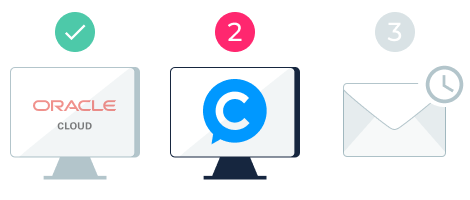
There are three steps to creating an Oracle Cloud site
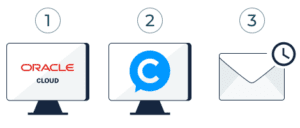
- You create a connection on the Oracle Cloud Console.
- You create your Oracle Cloud Site on Console Connect.
- We configure BGP and advise you when your Oracle Cloud Site is active.
On the Oracle Cloud Console:
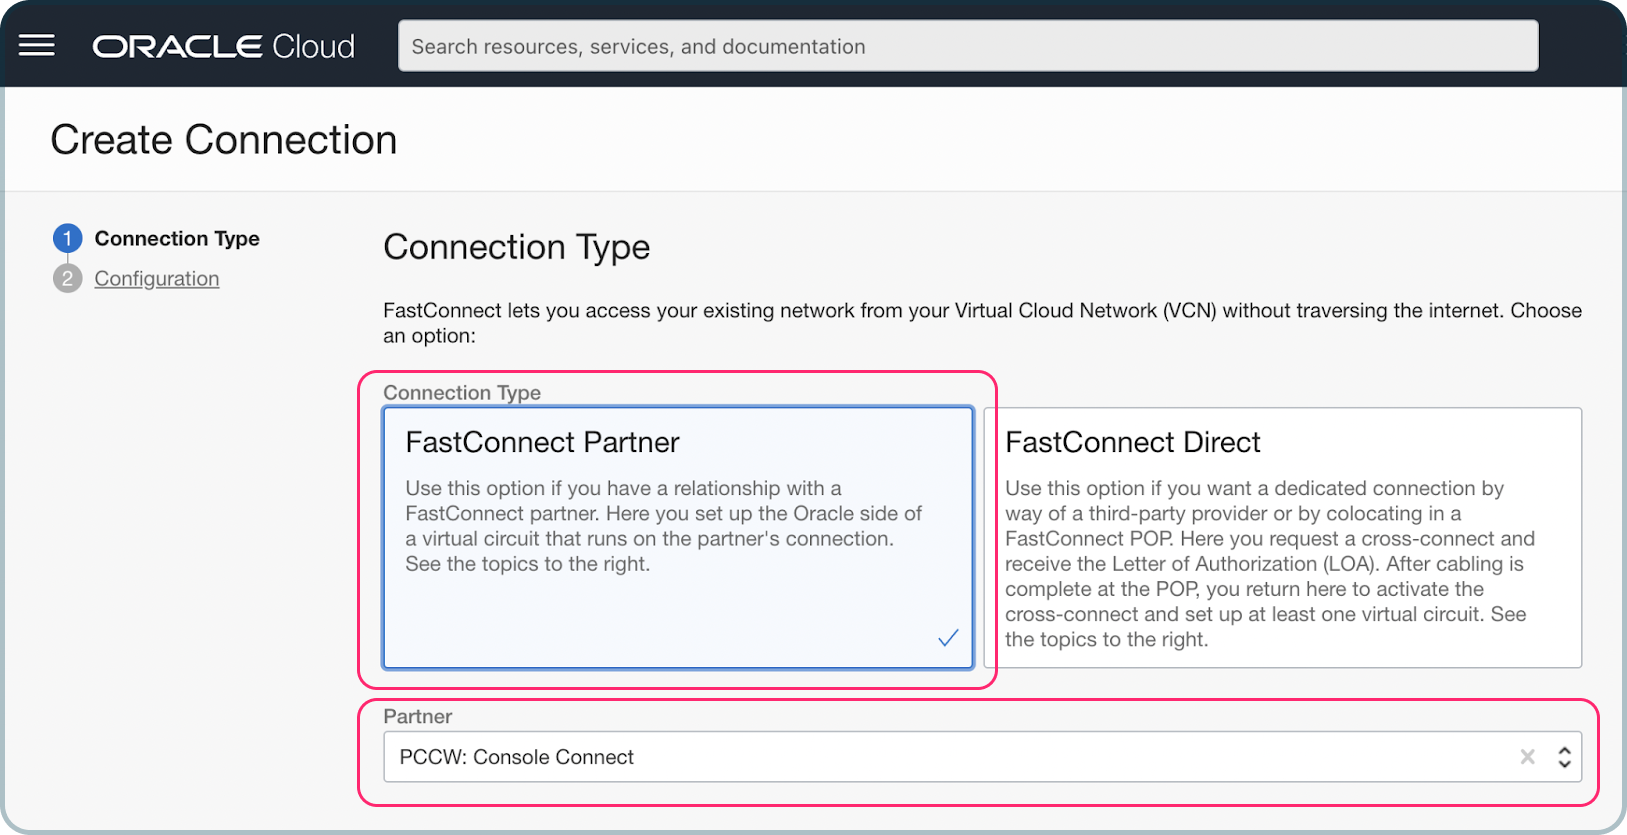
Create a connection
- Navigate to Create connection.
- Choose the FastConnect Partner tile.
- From the Partner dropdown, select PCCW: Console Connect.
- Click the Next button.
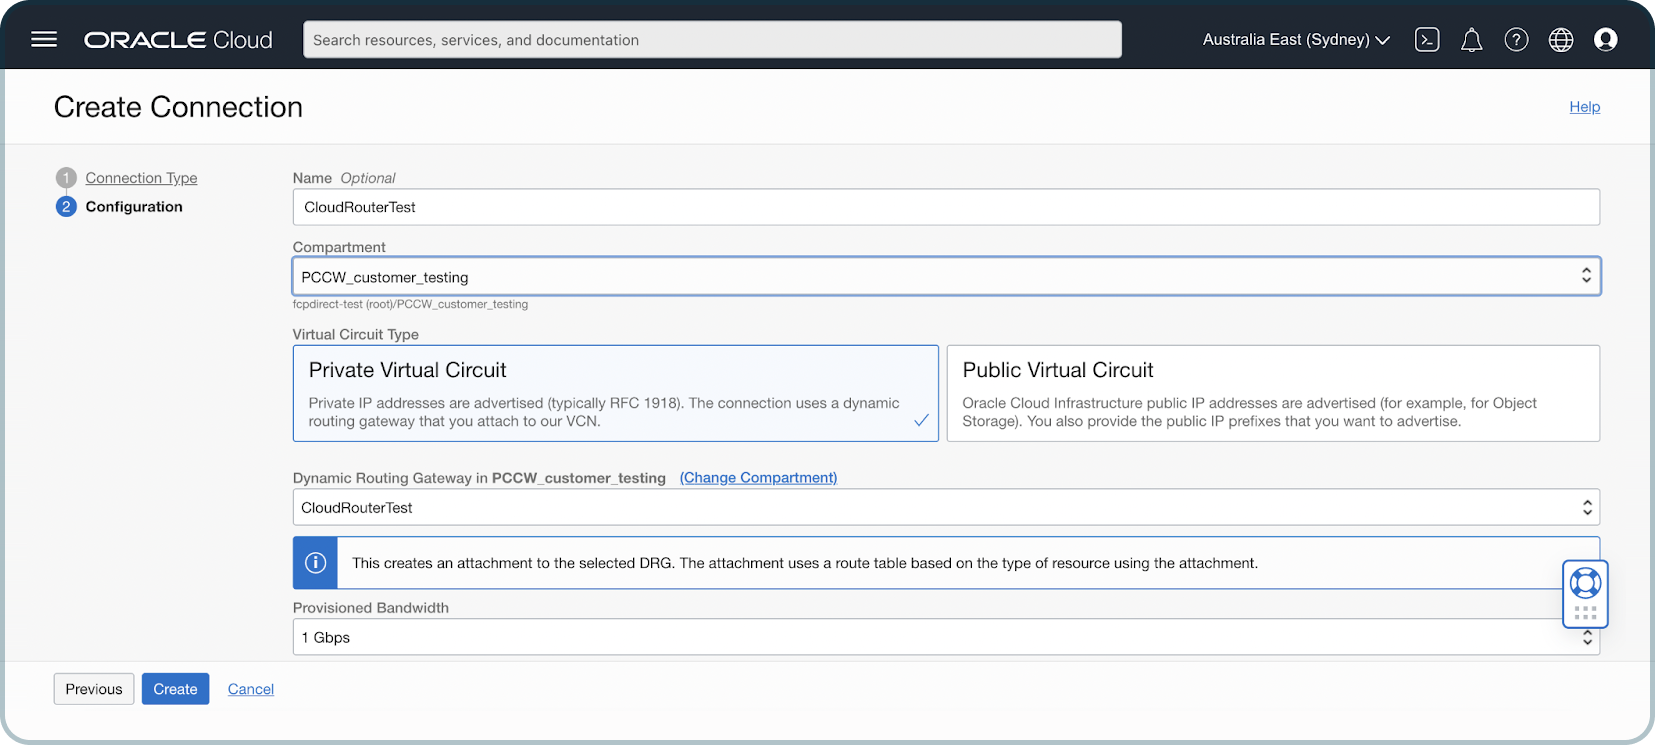
On the Create Connection > Configuration screen:
- Enter a name for your FastConnect.
- Select the compartment.
- Choose the Virtual Circuit Type.
- Select the Dynamic Routing Gateway.
- Select bandwidth.
- Click the Create button.
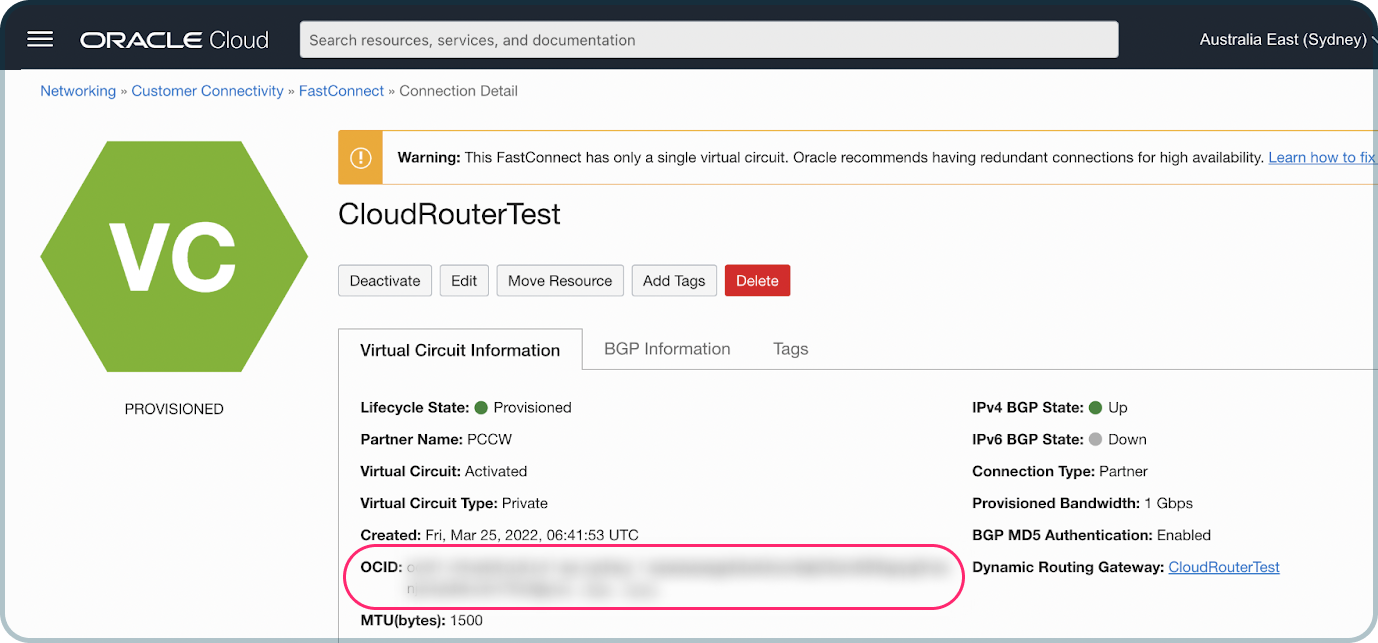
You will be directed to a confirmation screen with the details of your FastConnect.
On the Connection Detail screen:
- Copy the OCID.
On Console Connect:
On the CloudRouter® list screen
- Scroll to the CloudRouter® to which you want to add a site.
- Click the Add site to CloudRouter® button.
On the New site: Site type screen
- Select the Cloud or XaaS tile.
- Choose Oracle Cloud.
On the New site: Oracle Cloud details screen
- Paste the FastConnect OCID key that you created/copied on Oracle Cloud Console.
- Enter the Oracle Cloud ASN.
- Select the Oracle Cloud location in which your FastConnect was created.
- Click the Next button.
On the New site: Site details screen
- Enter a site name.
- Select required bandwidth.
- Choose the required class of service.
- Click the Next button.
On the New site: review screen
- Review the information you have entered and the pricing information.
- Click the Next button to continue.
On the New site: terms screen
- Read and accept the terms and conditions.
- Click the Create site button.
You will be directed to the site page where you can view the sites on your CloudRouter®.
We will configure BGP. Check your email…
- The Console Connect Support Team will configure BGP for your Oracle Cloud site.
- When this is complete, your Oracle Cloud site will become active.
- You will receive an automatically generated notification (in-app and via email) letting you know when your site is active.
Your Oracle Cloud site will now be active on your CloudRouter®.
Pricing and billing
How will I be charged for CloudRouter®?
Your CloudRouter® will be invoiced based on the bandwidth and you will be contracted for the duration you select when you create CloudRouter®.
The cost of CloudRouter® is calculated based on bandwidth and duration. CloudRouter® has a minimum contract term of one month. By the end of the commitment period, the contract will automatically renew for an additional period of committed duration/on a month-to-month basis.
You only pay a fixed cost for your CloudRouter® for the contracted period depending on base CloudRouter® bandwidth and you are free to add and delete sites according to your needs during this period.
PAYG Ports have a minimum contract term of 12 months. At the end of the 12 month period, ports will automatically renew on a month-to-month basis.
Please check our pricing calculator to see our prices for your needs. Log in or sign up to use our pricing calculator.
On-demand pricing
CloudRouter® gives you the flexibility of expanding your CloudRouter® as you need. You are free to add new sites to your CloudRouter® anytime you want and delete any sites when you don’t need them. Pricing of sites will be calculated based on the rate limit allocated to each site, location of the ports (sites), and quality of service on the connection.
You will be invoiced for CloudRouter® and sites connected to your CloudRouter® together at the end of each month.
When can I terminate my CloudRouter®?
In order to terminate your CloudRouter® please contact our support team [email protected] for assistance. Terminating your CloudRouter® within your contract will incur early termination fees.
CloudRouter® bandwidth
The bandwidth of CloudRouter® is selected while creating a CloudRouter®. It is the aggregate capacity that is available to be shared between sites added. CloudRouter® bandwidth can be between 500 Mbps to 100Gbps.
How do I pay for CloudRouter®?
You can pay invoice payments through bank transfer.
To pay by invoice is subject to credit approval. Once approved, you can order new ports and services and pay via invoice.
Please contact [email protected] to complete a credit assessment process.
Useful links
These resources provide more information on CloudRouter®: